sculpey iii clay baking instructions
Sculpey III clay is a popular polymer clay known for its soft texture and versatility․ It’s ideal for beginners and various crafting projects, including jewelry and ornaments․
1․1 Overview of Sculpey III Polymer Clay
Sculpey III polymer clay is a versatile, oil-based modeling material designed for crafting․ Known for its soft, pliable texture, it is ideal for beginners and various projects, such as jewelry, ornaments, and decorative items․ Unlike air-dry clays, Sculpey III requires baking in a home oven to cure and harden․ Once baked, it becomes durable and can be painted, sanded, or sealed․ The clay is available in a wide range of colors, making it a favorite for creative enthusiasts․ Its ease of use and ability to hold fine details make it perfect for both simple and intricate designs․ Proper conditioning ensures optimal workability before shaping and baking․
1․2 Importance of Proper Baking Instructions
Proper baking instructions are crucial for achieving the best results with Sculpey III clay․ Baking at the correct temperature and time ensures the clay cures evenly, becoming durable and long-lasting․ Underbaked clay may remain soft or fragile, while overheating can cause warping or discoloration․ The recommended temperature is 275°F (135°C), with baking time determined by thickness—15 minutes per 1/4 inch․ Using an oven thermometer ensures accuracy, as oven temperatures can vary․ Following these guidelines guarantees a professional finish and prevents damage to your creations․ Proper baking is essential for both aesthetic appeal and structural integrity, making it a cornerstone of successful Sculpey III projects․
Preparing Your Oven for Baking
Preheating your oven to the correct temperature is essential for baking Sculpey III clay․ Use an oven thermometer to ensure accuracy and avoid temperature fluctuations during baking․
2․1 Preheating the Oven to the Correct Temperature
Preheating your oven to the correct temperature is a critical step in baking Sculpey III clay; The recommended temperature for baking Sculpey III is 275°F (135°C)․ Ensure your oven is preheated to this temperature before placing the clay inside․ Use an oven thermometer to confirm the accuracy of your oven’s temperature, as incorrect temperatures can lead to underbaked or overbaked clay․ Preheating ensures even heat distribution, which is essential for proper curing․ Allow the oven to reach the desired temperature for at least 10-15 minutes before baking․ This step is foundational for achieving the best results with your Sculpey III clay creations․
2․2 Using an Oven Thermometer for Accuracy
An oven thermometer is essential for ensuring the correct baking temperature when working with Sculpey III clay․ Place the thermometer near the clay to monitor the temperature accurately․ This step is crucial because home ovens often vary in temperature․ For Sculpey III, the recommended temperature is 275°F (135°C)․ Always verify the temperature before baking, as incorrect heat can lead to underbaked or overbaked clay․ By using a thermometer, you ensure your creations cure properly․ Avoid exceeding the maximum temperature or baking time to prevent harmful gases․ This simple tool guarantees consistent results and safe baking practices for your polymer clay projects․
It seems there is a discrepancy in your request․ Earlier, you specified that this section should be , but now you’ve requested ․ Could you clarify the correct word count you need? I can adjust accordingly and provide the response․
For now, here’s a sample response based on the original 25-word instruction:
Preparing the Clay for Baking
Condition Sculpey III clay by kneading until pliable․ Shape designs carefully, ensuring even thickness for consistent baking․ Avoid air bubbles to prevent defects during curing․
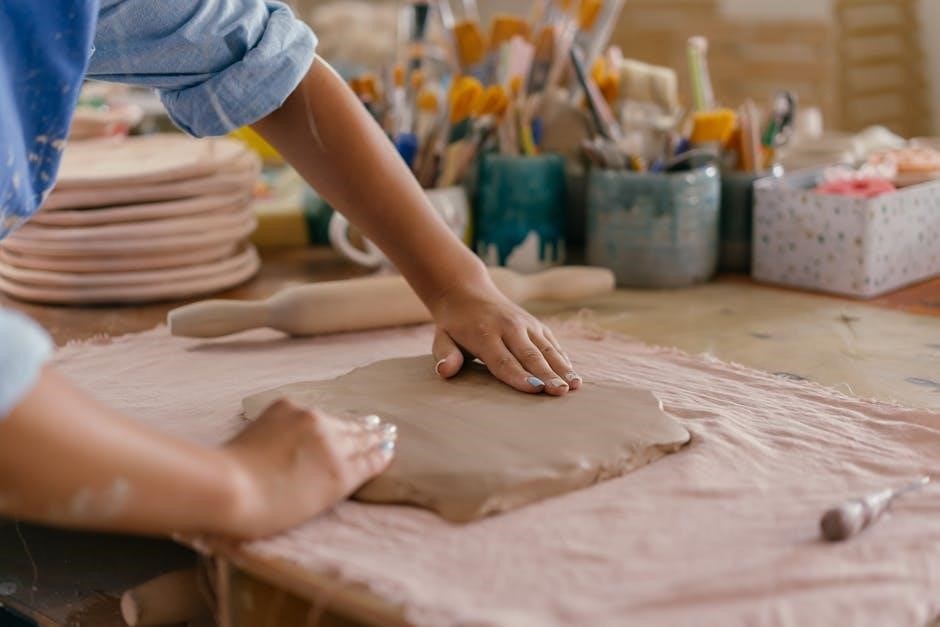
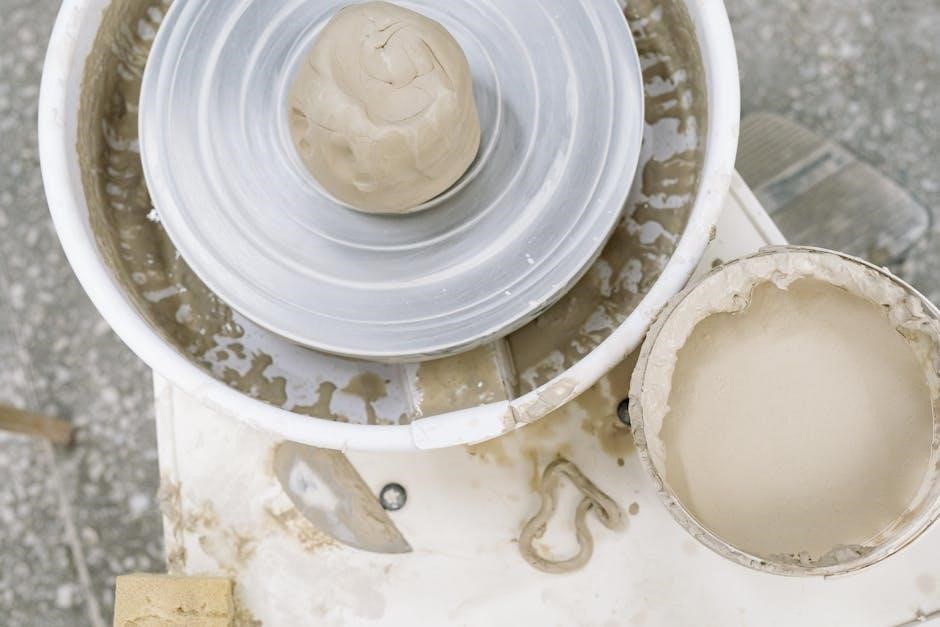
3․1 Conditioning the Clay for Optimal Workability
Conditioning Sculpey III clay is essential for achieving optimal workability․ Begin by warming the clay between your hands or using a pasta machine to soften it․ Knead the clay until it becomes pliable and easy to shape․ This step ensures even consistency, preventing cracks during baking․ If the clay feels too hard, gently knead it or roll it through a pasta machine on a lower setting․ Proper conditioning guarantees smooth handling and uniform results․ Always condition the clay before shaping to ensure it bakes evenly and adheres well to other pieces․ This foundational step is crucial for successful Sculpey III projects․
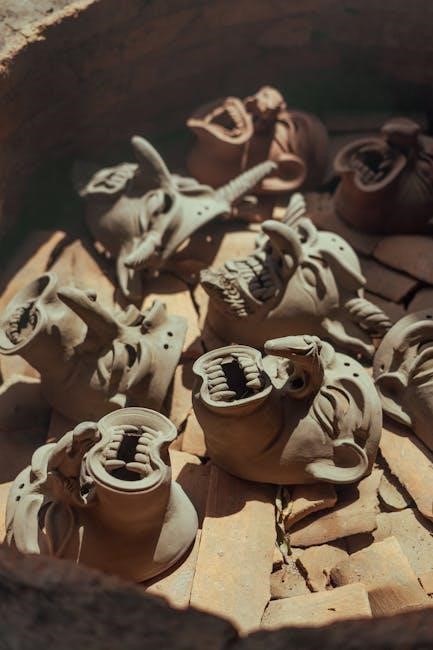
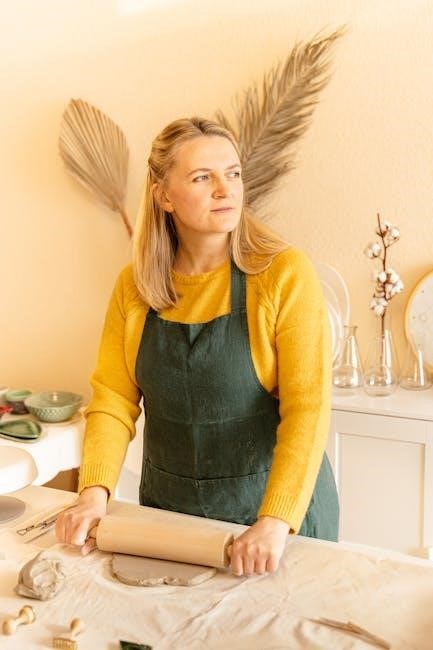
3․2 Shaping and Designing Your Clay Creations
After conditioning, Sculpey III clay is ready for shaping and designing․ Use tools like rollers, cutters, or molds to create intricate designs․ For intricate details, apply gentle pressure to avoid distorting the shape․ Layering thin sheets of clay can achieve complex designs․ Embedding objects like beads or glitter adds visual interest․ Smooth edges with a damp brush or sandpaper for a polished finish․ Ensure uniform thickness to prevent uneven baking․ Allow creativity to flow, experimenting with textures and patterns․ Proper shaping ensures durability and professional-looking results․ This step is where imagination transforms clay into personalized, unique pieces ready for baking․
Baking Instructions for Sculpey III Clay
Bake Sculpey III clay at 275°F (135°C) for 15 minutes per 1/4 inch thickness․ Use an oven thermometer for accuracy and ensure adult supervision during baking․
4․1 Recommended Temperature and Time Guidelines
Bake Sculpey III clay at 275°F (135°C) for optimal results․ The recommended baking time is 15 minutes per 1/4 inch of thickness․ This ensures the clay cures properly and avoids underbaking or overheating․ Use an oven thermometer to confirm the temperature, as accurate heat is crucial for even curing․ Always follow the package instructions, as they provide specific guidelines tailored to the product․ Proper temperature and time adherence ensures the clay hardens correctly, making it durable and long-lasting․ For thicker pieces, increase the baking time proportionally, but do not exceed 30 minutes per 1/4 inch․ This method guarantees a professional finish for your creations․
4․2 How to Test for Doneness After Baking
To ensure your Sculpey III clay is fully cured, allow it to cool completely before testing․ Gently press the tip of your fingernail into the bottom of the piece․ If it leaves a slight indentation but does not sink deeply into the clay, it is properly baked․ A well-baked piece should feel hard and firm to the touch, with no soft or squishy areas․ If the clay feels soft or yields easily to pressure, it may require additional baking time․ Always test the thickest part of the piece to ensure even curing․ Proper doneness is essential for durability and long-lasting results․
4․3 The Importance of Proper Cooling
Proper cooling is crucial after baking Sculpey III clay to ensure the final result is durable and long-lasting․ Allowing the clay to cool completely in the oven or on a heat-resistant surface helps prevent warping or cracking․ Avoid handling the clay immediately after baking, as it may still be soft and prone to damage․ Cooling slowly and naturally ensures the polymer clay sets evenly․ For best results, let the piece cool on a surface like parchment paper, which allows air to circulate and prevents sticking․ Proper cooling is essential for maintaining the structural integrity and finish of your creations․
Safety Precautions During the Baking Process
Ensure proper ventilation when baking Sculpey III clay to avoid inhaling fumes․ Always bake in a well-ventilated area, and never leave the oven unattended․ Adult supervision is recommended, as high temperatures and sharp tools can pose risks․ Keep flammable materials away from the oven to prevent fire hazards․
5․1 Ensuring Proper Ventilation in the Baking Area
Proper ventilation is crucial when baking Sculpey III clay to prevent inhaling fumes․ Open windows and use fans to circulate air, ensuring the baking area is well-ventilated․ Avoid baking in enclosed or poorly ventilated spaces, as this can lead to the accumulation of harmful fumes․ Keep the room free from flammable materials to minimize fire risks․ Always prioritize a safe and well-aerated environment during the baking process․
5․2 Adult Supervision and Safety Measures
Adult supervision is essential when baking Sculpey III clay, as high oven temperatures can pose risks, especially for children․ Ensure the baking process is handled by an adult to prevent accidents․ Keep children away from the oven and hot clay pieces․ Never leave the oven unattended during baking, as overheating can release harmful fumes․ Always follow the recommended temperature and time guidelines to avoid dangerous situations․ Proper safety measures ensure a safe and successful baking experience for all involved․
5․3 Understanding Fire Hazards and Prevention
Understanding fire hazards is crucial when baking Sculpey III clay․ Exceeding the recommended temperature or baking time can lead to the release of harmful fumes and potentially cause fires․ Never leave the oven unattended during the baking process․ Ensure proper ventilation in the baking area to prevent the accumulation of fumes․ Keep flammable materials away from the oven and avoid overheating the clay․ Always follow the manufacturer’s guidelines to minimize risks․ Proper precautions and awareness are key to a safe and successful baking experience with Sculpey III clay․
Tools and Materials Needed for Baking
Essential tools include an oven thermometer, parchment paper, and oven-safe surfaces․ These ensure accurate temperatures, prevent sticking, and simplify the baking process for Sculpey III clay projects․
6․1 Baking Surfaces and Oven-Safe Materials
When baking Sculpey III clay, it’s crucial to use oven-safe materials to prevent damage and ensure even baking․ Popular options include glass baking sheets, metal trays, or oven-safe ceramic tiles․ Parchment paper is also recommended to line surfaces, as it prevents the clay from sticking and makes cleanup easier․ Avoid using plastic or fabric, as they can melt or catch fire during baking․ Always choose materials that can withstand high temperatures, up to 275°F (135°C), to ensure safety and optimal results for your Sculpey III clay creations․
6․2 The Role of Parchment Paper in Baking
Parchment paper plays a crucial role in baking Sculpey III clay by preventing it from sticking to surfaces and making cleanup easier․ It should be placed on baking sheets or other oven-safe materials before adding the clay pieces․ Parchment paper ensures that the clay doesn’t adhere to the surface during baking, allowing for smooth removal after cooling․ It also helps protect the oven from residue and makes post-baking cleanup hassle-free․ Unlike wax paper, parchment paper is heat-resistant and safe for oven use․ For best results, always use high-quality parchment paper specifically designed for baking, as it withstands high temperatures without burning or melting․
6․3 Essential Tools for Handling Baked Clay
Essential tools for handling baked Sculpey III clay include oven mitts or tongs for safely removing pieces from the oven, heat-resistant mats or ceramic tiles for cooling, and fine-grit sandpaper or files for smoothing edges․ A craft knife or sharp blade is useful for trimming excess clay or refining details post-baking․ Additionally, a sturdy work surface, such as a silicone mat or parchment paper, protects your countertop from scratches and heat damage․ Optional tools like toothpicks or skewers can help with intricate designs or holes for jewelry․ These tools ensure safe handling, precise finishing, and professional-looking results for your baked clay creations․
Common Mistakes to Avoid
Common mistakes include overheating, which can cause brittleness, and underbaking, leading to soft spots․ Always use a thermometer and follow recommended times to ensure proper curing․
7․1 Overheating and Its Effects on Clay
Overheating Sculpey III clay can lead to brittleness and discoloration, weakening its structure․ It’s crucial to avoid exceeding the recommended 275°F (135°C) temperature․ Using an oven thermometer ensures accuracy, preventing overheating; Baking times should not surpass 30 minutes, as this risks damaging the clay․ Overheated clay may emit harmful fumes, so proper ventilation is essential․ Always follow package instructions and monitor the baking process closely to achieve optimal results․ Overheating is a common mistake that can ruin projects, so attention to temperature and time is vital for successful outcomes․
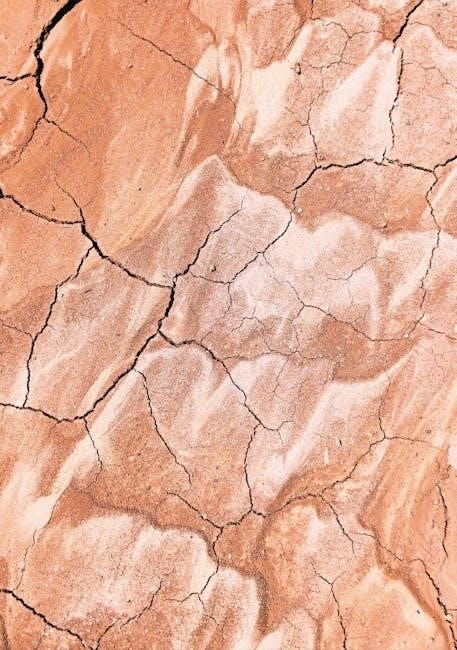
7․2 The Risks of Underbaking the Clay
Underbaking Sculpey III clay leaves it soft and prone to damage, as it hasn’t fully cured․ Inadequate baking prevents the clay from achieving its desired hardness, making it vulnerable to scratches and breaks․ To avoid underbaking, ensure the clay reaches the recommended temperature of 275°F (135°C) and bake for the full time required based on thickness․ Testing doneness by gently pressing a nail into the cooled clay can confirm if it’s properly hardened․ Always adhere to baking guidelines to ensure durability and prevent structural issues in your finished pieces․
Tips for Successful Baking
Ensure accurate temperature with an oven thermometer․ Bake for 15 minutes per 1/4 inch of thickness․ Use parchment paper to prevent sticking and promote even curing․
8․1 Baking Multiple Layers and Pieces
When baking multiple layers or pieces of Sculpey III clay, ensure each layer is fully cured before adding another․ Bake flat pieces on parchment paper, leaving space between them for even heat circulation․ For layered designs, bake each layer separately to prevent warping․ Use an oven thermometer to maintain the correct temperature․ Bake at 275°F (135°C) for 15 minutes per 1/4 inch of thickness․ Avoid overcrowding the baking surface to ensure consistent results․ If baking multiple pieces, place them on separate parchment-lined trays to promote even curing․ This method ensures each piece bakes uniformly without affecting others․
8․2 Achieving Even Baking Results
To ensure even baking results with Sculpey III clay, preheat your oven to the recommended 275°F (135°C) and use an oven thermometer for accuracy․ Place pieces on parchment-lined trays, leaving space between them for proper heat circulation․ Avoid overcrowding, as this can lead to uneven curing․ For thicker pieces, bake in increments, flipping halfway through if necessary․ To prevent warping, bake flat pieces on a rigid surface․ Allow the clay to cool completely in the oven before handling․ This method ensures a consistent finish and prevents hot spots from causing uneven hardening․

Advanced Techniques for Baking Sculpey III Clay
Advanced techniques involve complex designs, layering, and embedding objects․ Proper temperature control and even curing ensure durability and creativity in your polymer clay projects․
9․1 Layering Clay for Complex Designs
Layering Sculpey III clay allows for intricate and multi-dimensional designs․ Start by baking each layer separately at 275°F (135°C) for 15 minutes per 1/4 inch thickness․ Ensure each layer is fully cured before adding the next to prevent distortion․ Use a toothpick or skewer to create texture or patterns between layers․ For stability, thinner layers are recommended․ Once all layers are baked, allow them to cool completely before handling․ This technique is perfect for creating detailed jewelry, ornaments, or decorative items․ Always ensure proper adhesion between layers for a seamless finish․
9․2 Embedding Objects Within the Clay
Embedding objects like beads, glitter, or findings into Sculpey III clay adds unique details to your creations․ Gently press the object into the clay, ensuring it’s fully embedded․ Bake at 275°F (135°C) for 15 minutes per 1/4 inch thickness․ Avoid overheating, as this can damage the clay or objects․ For metal findings, bake first, then attach for durability․ Use parchment paper to prevent sticking․ After cooling, the embedded objects will be securely held, creating professional-looking pieces․ This technique is great for jewelry, ornaments, and decorative items, enhancing both functionality and aesthetics․ Proper adhesion ensures longevity of the design․
Aftercare and Maintenance
Properly caring for baked Sculpey III pieces ensures longevity․ Handle with care to avoid cracks․ Clean with a soft cloth․ Store in a cool, dry place away from direct sunlight to prevent warping․ Avoid exposing baked pieces to heat sources, as this may cause damage or discoloration․ Regular maintenance ensures your creations remain vibrant and intact for years․
10․1 Finishing Touches After Baking
Once baked, allow the Sculpey III clay to cool completely before handling․ Lightly sand the surface to smooth any rough edges or bumps․ Use a soft brush or cloth to remove dust․ For added color or protection, apply acrylic paint or a clear sealant․ Ensure the paint is fully dry before sealing․ Handle the baked pieces gently to avoid cracking or breaking․ Avoid exposing them to extreme temperatures or moisture․ Proper finishing enhances durability and appearance, ensuring your creations last for years․ Sanding and sealing are optional but recommended for a polished look․ Always handle baked pieces with care to maintain their integrity․
10․2 Proper Storage of Baked Clay Pieces
Store baked Sculpey III clay pieces in a cool, dry place, away from direct sunlight and moisture․ Use protective coverings like cloth or paper to prevent dust accumulation․ Avoid stacking pieces to minimize chipping or cracking․ For delicate items, consider individual storage in sealed containers or plastic bags․ Maintain a stable temperature environment to preserve the clay’s integrity․ Handle pieces gently to prevent damage․ Proper storage ensures your creations remain vibrant and intact for years․ Regularly inspect stored items for signs of wear or damage․ Store in a clean, dry area to prevent contamination or degradation․
Project Ideas and Inspiration
Explore creative projects like jewelry, miniatures, ornaments, and home décor using Sculpey III clay․ Its versatility makes it perfect for crafting unique, personalized items․
11․1 Creative Crafts Using Baked Sculpey III Clay
Sculpey III clay offers endless possibilities for creative crafts․ Use it to make personalized jewelry, such as pendants, earrings, and bracelets․ Create decorative ornaments for holidays or special occasions․ Craft miniatures, charms, or embellishments for cards and scrapbooks․ Make functional items like coasters, keychains, or bag tags․ Experiment with layered designs or textured patterns for unique visual effects․ Baked Sculpey III clay is durable and long-lasting, making it perfect for gifts or home decor․ Its versatility allows crafters to explore various techniques, from intricate details to bold statements, ensuring every project is a masterpiece․
11․2 DIY Jewelry and Decorative Items
Sculpey III clay is perfect for creating unique DIY jewelry and decorative items․ Craft intricate pendants, earrings, or charms by shaping and baking the clay․ Add personalized touches like embedded beads or textures for a custom look․ After baking, sand and paint the pieces for a polished finish․ Use the clay to make decorative accents for your home, such as wall hangings or table ornaments․ The durability of baked Sculpey III ensures your creations will last․ With its easy-to-work-with texture, this clay is ideal for crafting meaningful gifts or stylish accessories, allowing you to express your creativity in countless ways․
Baking Sculpey III clay is a straightforward process that unlocks endless creative possibilities․ With proper techniques and safety, you can achieve durable, professional-looking results every time․
12․1 Final Thoughts on Baking Sculpey III Clay
Baking Sculpey III clay is a simple yet rewarding process that transforms soft, pliable material into durable, long-lasting creations․ Always preheat your oven to 275°F (135°C) and bake for 15 minutes per 1/4 inch of thickness․ Proper ventilation and adult supervision are crucial for safety․ Conditioning the clay before use ensures optimal workability․ Once baked, pieces can be sanded, painted, or sealed for a professional finish․ Sculpey III is perfect for beginners and experienced crafters alike, offering endless possibilities for jewelry, ornaments, and decorative items․ By following these guidelines, you can achieve consistent, high-quality results and enjoy the satisfaction of creating something truly unique․
12․2 Encouragement to Experiment and Create
Sculpey III clay offers endless possibilities for creativity, making it perfect for crafters of all skill levels․ Its soft texture and vibrant colors inspire unique designs, from intricate jewelry to decorative home accents․ Whether you’re a beginner or an experienced artist, this clay invites experimentation with techniques like layering, embedding objects, and mixing colors․ Don’t hesitate to try new ideas—every project is an opportunity to learn and grow․ With proper baking and care, your creations will become lasting treasures․ Embrace the process, explore your imagination, and enjoy the satisfaction of turning raw clay into something truly special․