signature select ham cooking instructions
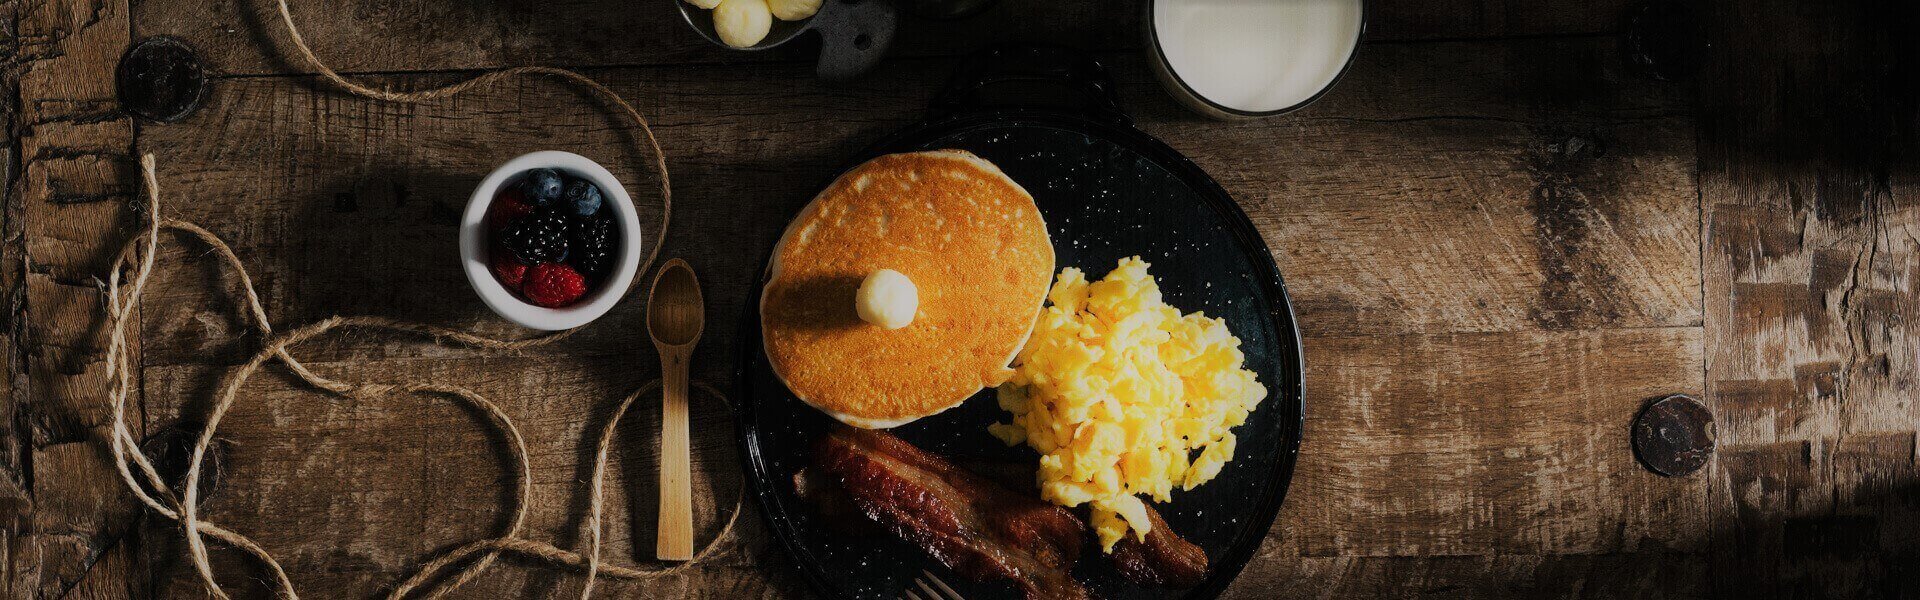
Cooking Signature Select ham is a delightful experience, offering a perfectly balanced flavor and tender texture. This pre-cooked ham is ideal for special occasions, requiring minimal effort to achieve a delicious, juicy result. With natural ingredients like honey and brown sugar, it promises a mouthwatering dish every time.
1.1 Understanding the Basics of Ham Cooking
Cooking a Signature Select ham is straightforward, as it’s pre-cooked and requires only reheating. The key is to maintain moisture and flavor. Use methods like oven roasting or slow cooking, ensuring the internal temperature reaches 140°F. For bone-in hams, cooking times range from 18-25 minutes per pound, while boneless hams take 12-15 minutes. Spiral-sliced hams are convenient but may dry out if overcooked. Always use a meat thermometer for accuracy and wrap in foil to retain juices.
1.2 Importance of Proper Cooking Techniques
Proper cooking techniques ensure your Signature Select ham remains juicy and flavorful. Achieving the correct internal temperature (140°F) prevents undercooking or overcooking. Using tools like a meat thermometer guarantees accuracy. Wrapping the ham in foil retains moisture, while scoring enhances glaze penetration. Improper methods can lead to a dry, overcooked ham. Following guidelines ensures a perfectly cooked, delicious result every time, making it ideal for special occasions and memorable meals.
Essential Information About Signature Select Ham
Signature Select ham is pre-cooked, made with natural ingredients like honey and brown sugar, offering a juicy texture and sweet flavor, ready for easy reheating or glazing.
2.1 Is Signature Select Ham Pre-Cooked?
Yes, Signature Select ham is fully pre-cooked, offering convenience and ease. This ensures it’s ready for reheating or glazing, requiring only a gentle reheat to enhance its natural juices and flavor.
Pre-cooked hams, like Signature Select, are perfect for those seeking a stress-free cooking experience. They retain moisture and flavor, making them ideal for special occasions or everyday meals. Simply follow reheating instructions for a delicious result.
Reheating pre-cooked ham helps maintain its tenderness and prevents drying out. Use methods like oven roasting or slow cooking to achieve optimal results. Always check internal temperature for food safety.
2.2 Bone-In vs. Boneless Ham: What to Choose
Choosing between bone-in and boneless ham depends on personal preference and cooking goals. Bone-in hams often offer more flavor and a traditional presentation, with the bone adding richness to the meat. Boneless hams are easier to slice evenly and more convenient for serving. Consider the size of your gathering and your desired texture to make the best choice for your needs.
Tools and Equipment Needed
A baking pan, aluminum foil, and a meat thermometer are essential for cooking Signature Select ham. Utensils like a basting brush and tongs also aid in handling and glazing.
3.1 Baking Pan or Roasting Rack
A baking pan or roasting rack is essential for cooking Signature Select ham. Place the ham face down or fat side up in the pan, adding water, apple juice, or soda to retain moisture. Covering with aluminum foil prevents drying, while a rack elevates the ham for even heating. Ensure the pan is large enough to accommodate the ham comfortably, allowing for proper circulation of heat and juices during cooking.
3.2 Aluminum Foil for Moisture Retention
Aluminum foil is crucial for retaining moisture while cooking Signature Select ham. Tightly cover the ham with foil to prevent drying and promote even heating. This step ensures the ham stays juicy and flavorful. For added moisture, place the ham in a pan with water, apple juice, or soda before covering. Foil helps trap steam, keeping the ham tender throughout the cooking process at temperatures between 275°F and 325°F. Remove foil during the last 20 minutes if glazing.
3.3 Meat Thermometer for Accuracy
A meat thermometer is essential for ensuring your Signature Select ham reaches a safe internal temperature of 140°F. Insert the thermometer into the thickest part of the ham, avoiding contact with bone or fat. This ensures accurate readings and even cooking. Proper temperature control prevents overcooking, keeping the ham juicy and flavorful. Use an instant-read or digital thermometer for precise measurements during the cooking process.
3.4 Utensils for Handling and Glazing
Essential utensils for handling and glazing include a large fork or tongs for turning the ham, a basting brush for evenly applying glaze, and a carving knife for slicing. A roasting pan with a rack helps in evenly cooking the ham, while aluminum foil prevents drying. These tools ensure smooth handling and proper glazing, enhancing both the cooking process and the ham’s presentation.
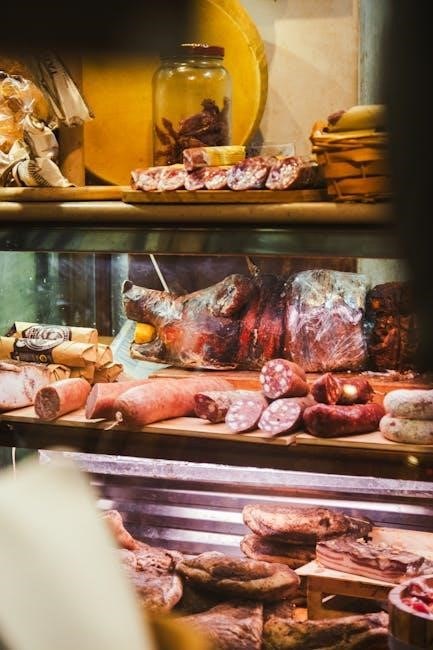
Choosing the Right Ham
Selecting the right ham involves considering size, type, and glaze. Spiral hams are convenient, while whole hams offer versatility. Bone-in hams provide richer flavor, and glazes enhance taste, ensuring a perfect match for your gathering.
4.1 Size Considerations for Your Gathering
Choosing the right ham size ensures everyone enjoys a generous portion. A bone-in ham typically serves 1/2 pound per person, while boneless hams may require slightly less. For a small gathering, a 3-4 pound ham suffices, while larger groups may need 7-9 pounds. Consider leftovers when selecting size, adding 1-2 pounds if desired. Proper sizing ensures a balanced meal without excess or shortage, making your event memorable and stress-free.
4.2 Spiral Sliced vs. Whole Ham
Spiral sliced hams offer convenience with pre-sliced, uniform pieces, perfect for easy serving and ensuring even glaze distribution. Whole hams provide flexibility, allowing you to carve slices to your preferred thickness. Choose spiral sliced for a stress-free presentation or whole ham for customization, depending on your gathering’s needs and preferences.
4.3 Selecting the Best Glaze for Flavor
Choosing the right glaze elevates your Signature Select ham’s flavor. Opt for sweet and savory combinations like honey-brown sugar, maple-mustard, or fruit-based glazes. Spicy options, such as jam with adobo sauce, add a bold twist. Apply the glaze during the last 20-30 minutes of cooking to prevent burning. Experiment with ingredients like molasses, cloves, or citrus zest for a personalized touch, ensuring a sticky, flavorful crust that complements the ham’s natural juices.
Storage and Thawing Guidelines
Store Signature Select ham in the refrigerator at 40°F or below. For frozen hams, thaw in the fridge or cold water, changing water daily. Allow 24 hours per 4-5 pounds for thawing. Cooked ham can be refrigerated for up to 7 days or frozen for 3-4 months. Proper storage ensures freshness and food safety.
5.1 Refrigerator Storage Tips
Store Signature Select ham in the refrigerator at 40°F or below. Wrap the ham tightly in plastic wrap or aluminum foil to prevent drying. Place it in an airtight container to maintain freshness. Keep it away from strong-smelling foods to avoid odor absorption. Cooked ham can be refrigerated for up to 7-10 days. For longer storage, consider freezing. Always check for any signs of spoilage before consuming. Proper refrigeration ensures the ham remains juicy and flavorful.
5.2 Thawing a Frozen Ham Safely
Thaw a frozen Signature Select ham in the refrigerator for 24-48 hours, depending on size. For faster thawing, submerge in cold water, changing water every 30 minutes. Never thaw at room temperature to prevent bacterial growth. Once thawed, cook immediately or refrigerate until cooking. Ensure the ham stays at a safe temperature throughout the thawing process to maintain quality and food safety. Proper thawing ensures even cooking and retains the ham’s natural juices and flavor.
Preparing the Ham for Cooking
Place the ham in a shallow baking pan, fat side up. Add water or juices to the pan to maintain moisture; Cover with foil to retain heat and flavor. Proper preparation ensures even cooking and prevents drying out. This step sets the foundation for a delicious, tender ham. Always follow safe food handling practices during preparation.
6.1 Scoring the Ham for Glaze Penetration
Score the ham surface in a shallow diamond pattern, cutting about 1/4 inch deep. This allows the glaze to penetrate evenly, enhancing flavor and texture. Ensure not to cut too deeply to avoid damaging the meat. Scoring is a crucial step for achieving a moist, flavorful ham with a caramelized glaze. This technique ensures the glaze distributes evenly, resulting in a delicious, visually appealing dish.
6.2 Applying a Glaze or Rub
Apply your chosen glaze or rub during the last 20-30 minutes of cooking to ensure caramelization. For a sweet and savory flavor, mix ingredients like honey, brown sugar, mustard, or spices. Brush the glaze evenly over the ham, making sure it adheres to the scored surface. This step enhances the ham’s flavor and texture, creating a sticky, flavorful crust. For a spicy kick, add elements like cloves or pepper to the glaze for extra depth.
Cooking Methods for Signature Select Ham
Cook Signature Select ham using oven, slow cooker, or pan-frying methods. Preheat to 325F, use a meat thermometer, and ensure internal temperature reaches 140°F for even cooking.
7.1 Oven Cooking: Step-by-Step Guide
Preheat your oven to 325°F. Place the ham fat side up on a roasting rack in a shallow pan. Score the surface in a diamond pattern, cutting 1/4 inch deep. Apply your desired glaze evenly. Cover with foil to retain moisture. Roast for 15-20 minutes per pound, or until the internal temperature reaches 140°F. Baste with pan juices every 20 minutes for added flavor. Uncover for the last 20 minutes if glazing.
7.2 Slow Cooker Method for Tender Ham
Place the ham fat side up in a slow cooker. Add 1 cup of liquid, such as pineapple juice or water, to the base. Cover and cook on low for 4-5 hours or high for 2-3 hours. If glazing, brush the ham with your glaze during the last 30 minutes of cooking. This method ensures a tender, juicy texture without constant monitoring, making it perfect for busy days.
7.3 Pan-Frying for a Crispy Exterior
For a crispy exterior, slice the pre-cooked ham into thick pieces or leave it whole. Heat a skillet over medium-high heat with a little oil. Sear the ham for 2-3 minutes per side until golden brown. If glazing, brush it on during the last minute. This method adds a satisfying crunch while maintaining the ham’s juicy interior. It’s a quick and flavorful way to enhance your ham’s texture before serving.
Temperature and Time Guidelines
Cook the ham to an internal temperature of 140°F, using 12-15 minutes per pound as a guide. This ensures a perfectly cooked, juicy ham every time.
8.1 Internal Temperature Requirements
Cooking Signature Select ham requires ensuring the internal temperature reaches 140°F for optimal safety and tenderness. Use a meat thermometer to check the temperature accurately, avoiding contact with the bone in bone-in hams. Proper heating guarantees a juicy, flavorful result, while undercooking or overcooking can lead to dryness or foodborne illness. Always prioritize precise temperature control for the best outcome.
8.2 Cooking Time per Pound
Cooking time for Signature Select ham varies based on size and method. Generally, allow 12-15 minutes per pound at 275°F for a tender, juicy texture. For oven cooking, 20 minutes per pound at 325°F is recommended. Ensure the ham is covered with foil to retain moisture. Total cooking time will depend on the ham’s weight, so always verify with a meat thermometer to ensure the internal temperature reaches 140°F for safety.
8.3 Adjusting for Different Ham Sizes
Adjust cooking time based on the ham’s size for optimal results. A 5-pound ham typically takes 1-3/4 hours at 325°F, while an 8-pound ham requires about 2-1/2 hours. Use a meat thermometer to ensure the internal temperature reaches 140°F. Larger hams may need longer cooking times, so always check the temperature periodically to avoid overcooking. Adjust the foil coverage and moisture levels as needed to maintain juiciness.
Resting and Carving the Ham
Let the ham rest for 15-20 minutes before carving to retain juices. Use a sharp knife for even slices, ensuring a clean and elegant presentation.
9.1 Why Resting is Important
Resting the ham after cooking allows the juices to redistribute, ensuring tender and flavorful meat. If carved immediately, the juices escape, making the ham dry. Resting for 15-20 minutes retains moisture, enhancing the overall texture and taste, making it essential for a perfect presentation and enjoyment of your Signature Select ham.
9.2 Carving Techniques for Even Slices
Carving your Signature Select ham evenly requires a sharp knife and a steady hand. Start by slicing along the bone, using it as a guide, then proceed in the same direction as the spiral slices. Use a carving fork to hold the ham firmly in place, ensuring stability. This method guarantees uniform, thin slices without tearing the meat, making your presentation both elegant and professional.
Glazing Tips and Tricks
Apply the glaze during the last 20 minutes of cooking at 400°F for a caramelized finish. Balance sweet and savory flavors for a delicious, sticky coating.
10.1 When to Apply the Glaze
Apply the glaze during the last 20 minutes of cooking at 400°F to ensure a caramelized finish. Timing is crucial to prevent burning and enhance flavor. Brush the glaze evenly over the ham, making sure it coats all surfaces. For spiral hams, this step ensures the glaze penetrates between slices. Proper glazing timing prevents overcooking and keeps the ham juicy while adding a sweet, sticky crust.
10.2 Balancing Sweet and Savory Flavors
Strike a harmonious balance by mixing sweet ingredients like honey or brown sugar with savory elements such as mustard or spices. This blend complements the ham’s natural flavor without overpowering it. For a spicy kick, incorporate elements like cloves or pepper. Adjust the proportions to suit your taste, ensuring the glaze enhances rather than overwhelms the ham’s rich, smoky profile. Experimentation allows for a personalized flavor experience every time.
Serving Suggestions
Serve your Signature Select ham with classic sides like mashed potatoes, green beans, or pineapple rings for a well-rounded meal. Elevate presentation with fresh herbs or a decorative platter.
11.1 Side Dishes to Pair with Ham
Pair your Signature Select ham with classic sides like mashed potatoes, green beans, or pineapple rings for a balanced meal. Roasted vegetables, such as Brussels sprouts or carrots, add a delicious contrast. Cornbread or dinner rolls complement the savory flavors, while a fresh salad provides a light contrast. These options ensure a variety of textures and flavors to enhance your ham’s natural goodness.
11.2 Presentation Ideas for a Festive Look
Elevate your Signature Select ham with a stunning presentation. Place it on a decorative platter or carving board, surrounded by fresh herbs like rosemary or thyme. Arrange sliced fruits, such as pineapple or apples, around the ham for a pop of color. Drizzle with a caramelized glaze and sprinkle with brown sugar for a glossy finish. This setup creates a centerpiece that impresses and enhances the festive ambiance of your gathering.
Safety Tips for Cooking Ham
Always ensure the ham reaches an internal temperature of 140°F to prevent foodborne illness. Handle the ham safely, storing it at 40°F or below before cooking.
12.1 Preventing Foodborne Illness
To ensure food safety, always cook the ham to an internal temperature of 140°F, avoiding cross-contamination. Store raw or cooked ham at 40°F or below. Wash hands thoroughly before handling, and use separate utensils for raw and cooked ham. Preventing foodborne illness requires attention to proper handling, storage, and reheating practices to maintain a safe and enjoyable dining experience for everyone.
12.2 Handling and Storing Cooked Ham
Cooked ham should be stored in an airtight container and refrigerated at 40°F or below within two hours of cooking. For longer storage, freeze at 0°F, where it can last up to 3 months. Always reheat cooked ham to an internal temperature of 140°F before serving to ensure food safety and quality. Proper handling and storage prevent spoilage and maintain the ham’s flavor and texture for future meals.
Troubleshooting Common Issues
Common issues like dryness can be prevented by using foil and adding liquid. Overcooked ham can be fixed by adjusting cooking time and temperature. Use a meat thermometer for accuracy.
13.1 Preventing the Ham from Drying Out
To keep your Signature Select ham moist, cover it tightly with aluminum foil during cooking. Place the ham fat side up in a pan with water or juice. Use low heat and avoid overcooking. Baste occasionally and ensure the internal temperature doesn’t exceed 140°F. These steps will help retain juicy flavor and prevent dryness.
13.2 Fixing Overcooked Ham
If your Signature Select ham becomes overcooked, rescue it by adding moisture. Brush with a sweet glaze or pan juices, then wrap tightly in foil. Heat gently at 275°F until warmed through. Avoid overheating, as this can dry it further. Ensure the internal temperature stays below 140°F to maintain tenderness. This method helps restore juiciness and flavor to an overcooked ham.
Cooking Signature Select ham is a straightforward process that ensures a delicious, tender result. By following proper techniques and guidelines, you can achieve a perfectly cooked ham every time.
14.1 Summary of Key Cooking Steps
Preheat your oven to 325°F. Place the ham fat side up in a baking pan, adding water or juice for moisture. Cover with foil to retain heat. Cook for 10-15 minutes per pound or until the internal temperature reaches 140°F. Glaze during the last 20 minutes for enhanced flavor. Let the ham rest before carving to ensure juices redistribute, resulting in a tender and delicious final dish.
14.2 Final Tips for a Perfect Ham
Ensure the ham reaches an internal temperature of 140°F for optimal tenderness. Avoid overcrowding the pan for even cooking. Baste occasionally to retain moisture and flavor. Apply glaze during the last 20 minutes for a caramelized finish. Let the ham rest 10-15 minutes before carving to allow juices to redistribute. These steps guarantee a juicy, flavorful, and visually appealing dish perfect for any gathering or special occasion.